4 Easy Steps to Pantry Paradise
- July 8, 2020

4 Easy Steps to Pantry Paradise

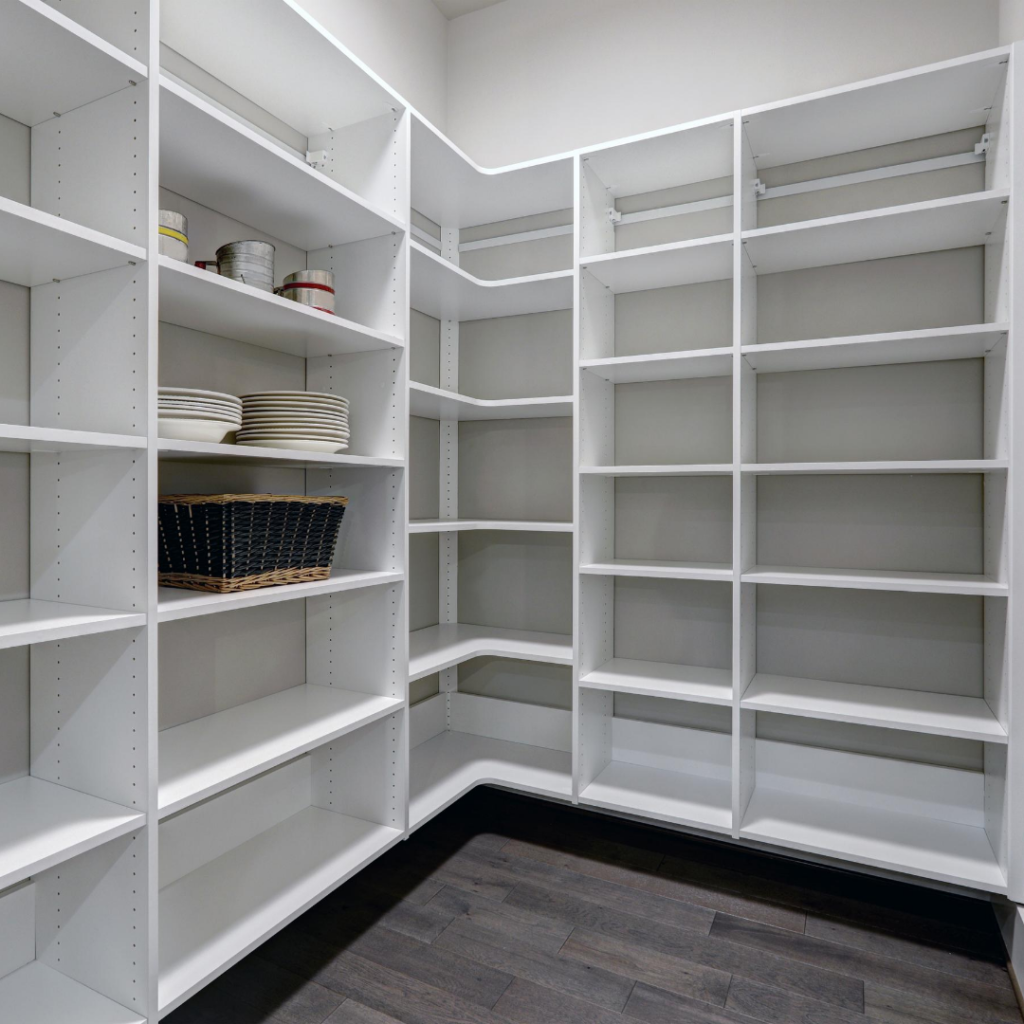
Is it impossible to find that snack you’re sure you picked up at the store this week (…or was that 2 weeks ago?)?  Are things stuffed on shelves leaving the contents of the back and bottom layer a complete mystery?  Does a Pinterest search for “pantry organization” evoke green feelings of envy?  Worry not, that pantry porn can soon come to the pantry nearest you with these 4 easy steps.

First things first, of course, there is one rule which I will repeat endlessly.  It is my golden rule of organizing and it applies to organizing anything, anywhere, anytime.  Read more about why it is my golden rule and how to apply it here.  In a nutshell, though, take EVERYTHING OUT.  Now that we are on the same page, let’s dig into the 4 steps!

STEP 1: Group & Sort


As everything is being removed, group like things together.  For instance, keep all the cereal together, canned goods together, dry goods (i.e. pasta and beans) together, snacks together, and so on.  Having bins such as bankers boxes and sticky notes to label each box will help this process go much smoother while minimizing brain fatigue.

STEP 2: Toss Expired Items


Before anything makes it into a sorting bin, check the expiration date and throw away any expired items.  This seems obvious, but when excitement is in play it’s easy to overlook this step.  Having a process of not allowing any item into a bin until the expiration date is checked helps to ensure this step isn’t missed.

STEP 3: Clean & Line The Shelves


Now everything is out and sorted neatly into labeled boxes!  WAIT!!!!  It’s so easy to want to skip straight to putting it all back in with those dreamy containers you bought but resist the urge.  First, clean off those shelves you rarely see and will be much harder to clean once everything is back in.


While it is optional I always recommend lining shelves with easy to clean non-adhesive shelf liner.  I recommend the Duck Brand Solid Grip liner for pantries for a couple of reasons.  First, say it with me…machine washable!  Yes, when it’s spring cleaning time just take them out and throw them in the washing machine let them air dry and put them back in! Second, the thick sturdy liner protects your shelves without bunching up.

STEP 4: Create Homes


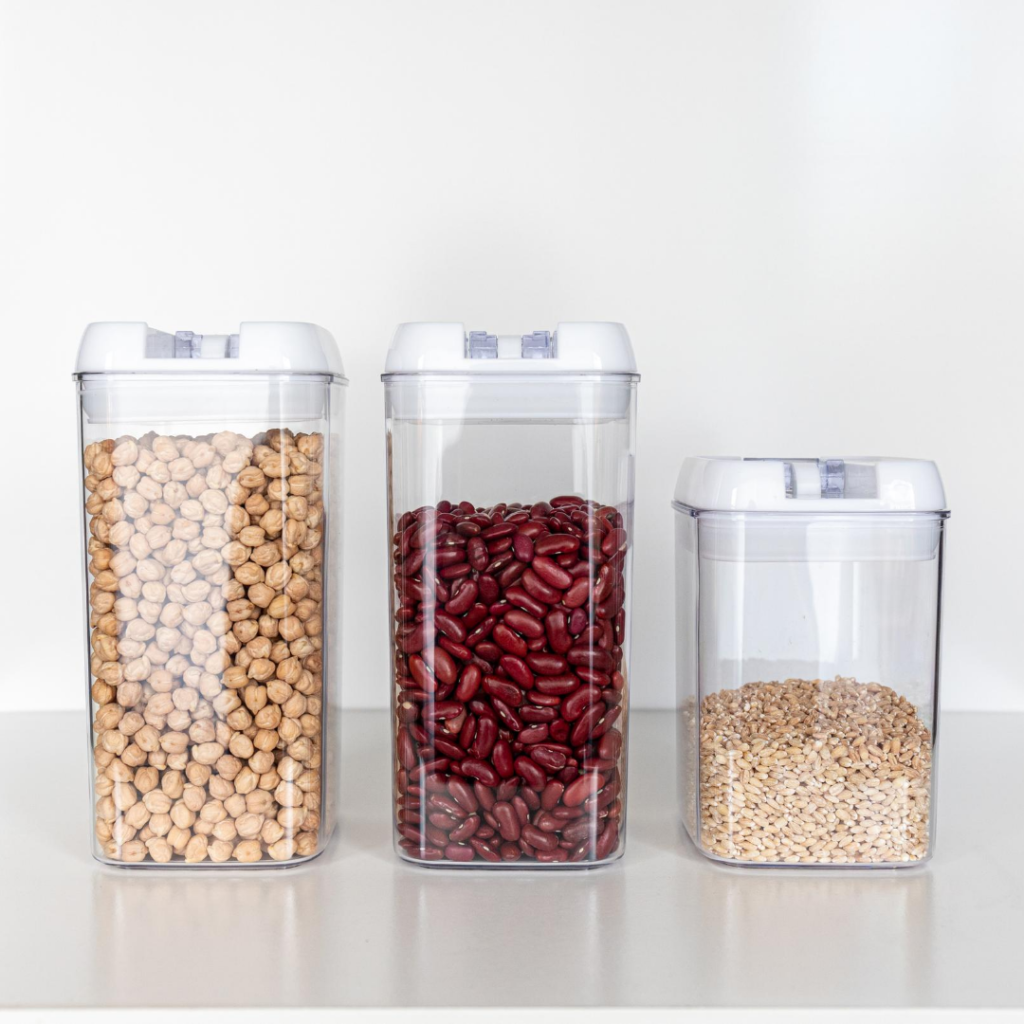
Yay!!!  The fun part, designing homes for the food that’s left!  Now, it is tempting to splurge on all the fun containers before any organizing occurs, but waiting will pay off.  Once everything is sorted and eliminated, finding the correct kind and number of organizing products is much more efficient.  It is also possible to not purchase any new products at all if that’s the preferred method.  Repurposing cardboard containers by removing the tops for easy access works too!  The key is to keep like items together, label containers, and try to only keep your pantry 80% full at any time.


If you are still needing a little extra help, click here to fill out our inquiry form and a Clean, Chic & Centered team member will respond within 24 hours!  Sending you love and light

Cristina Sigurdson

Related Post

- September 2, 2020

Change, A Constant Friend or Foe?

Change  The word alone can incite all kinds of emotional and even physical reactions  How do we take those reactions and channel them in a way that benefits us?  How do we find a way to thrive in the midst of change, whether dreaded or desired?  The answer is …

- July 8, 2020

Organizing 101: The Golden Rule of Organizing

When it comes to organizing I’m a firm believer that there are no rules on how to get the job done “right”  Now don’t get me wrong, there are definitely processes that are effective and those that aren’t  However, as long as systems are being implemented that will be …